Skip navigation

Base Maps XYZ

Integrating tabaqat in QGIS with WMTS and XYZ

Estimated reading time : 3 minutes

Getting started

The following tutorial has been done on the latest version of QGIS. The process is however the same for older versions. Thanks to these instructions, you could use a WMS source to use your different map layers in QGIS.

XYZ Tutorial

First you need your XYZ endpoint. Get it from tabaqat Platform.

That's what it looks like :

https://basemaps.tabaqat.net/your-style-id/{z}/{x}/{y}.png?access_token=your-tabaqat-access-token

You just need to replace your-tabaqat-access-token by your real access token that you can find in your account and your-style-id by your style ID. You can find your style id in Leaflet section in Style Manager:

Tip: You can also use our default styles.

Requirements

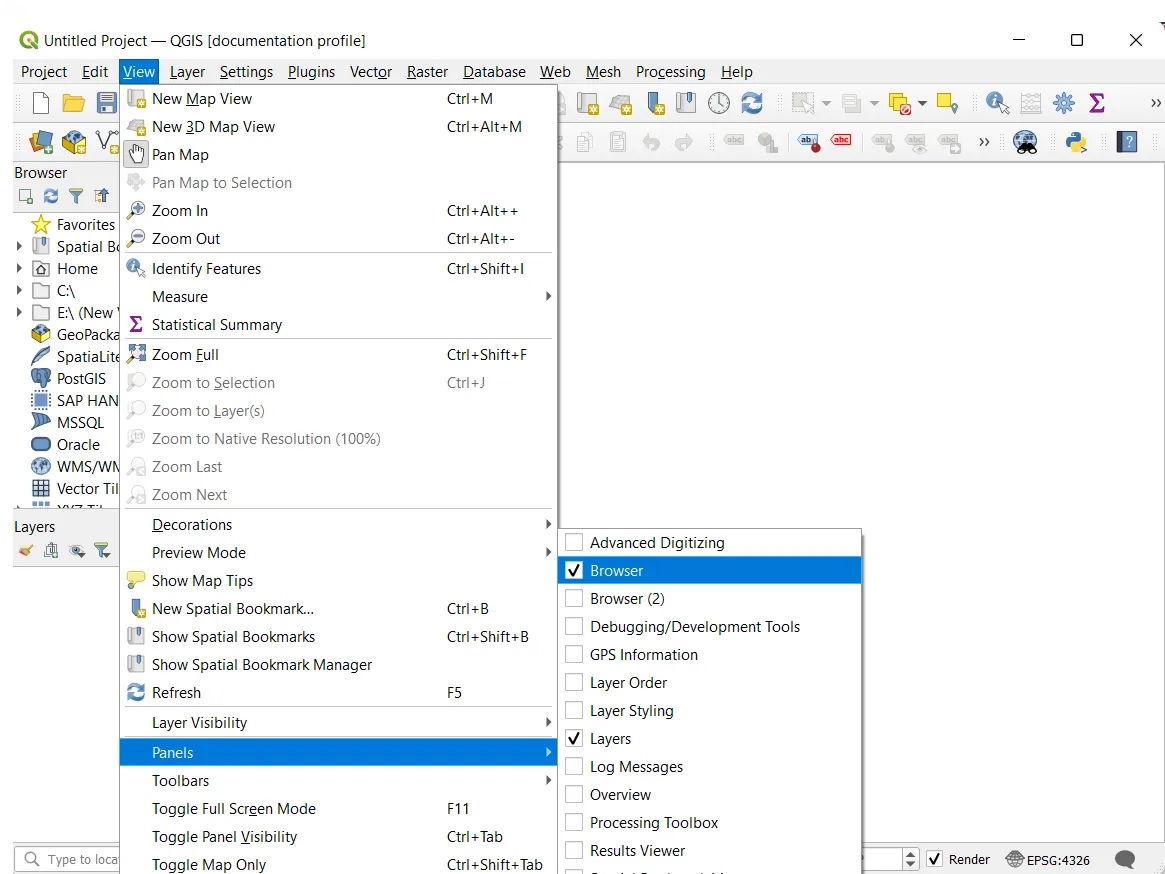
Make sure that Browser view and Layers view are on. Click on the View tab on top of the QGIS window, then select Browser and Layers in the Panels section.

requirements-01

Step 1

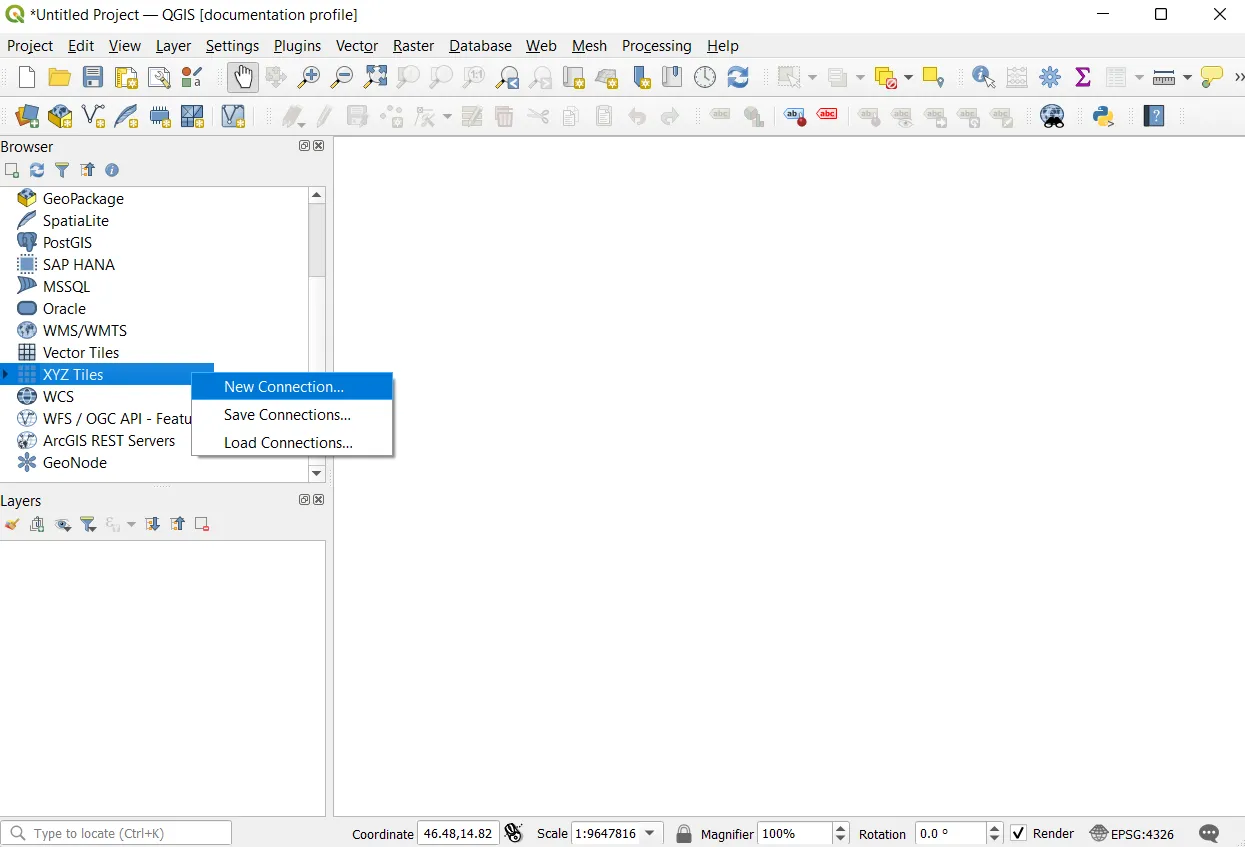
To import your XYZ layer in QGIS, go to the Browser Panel, find XYZ Tiles, right click on it and click on New Connection...

xyz-new-connection

Step 2

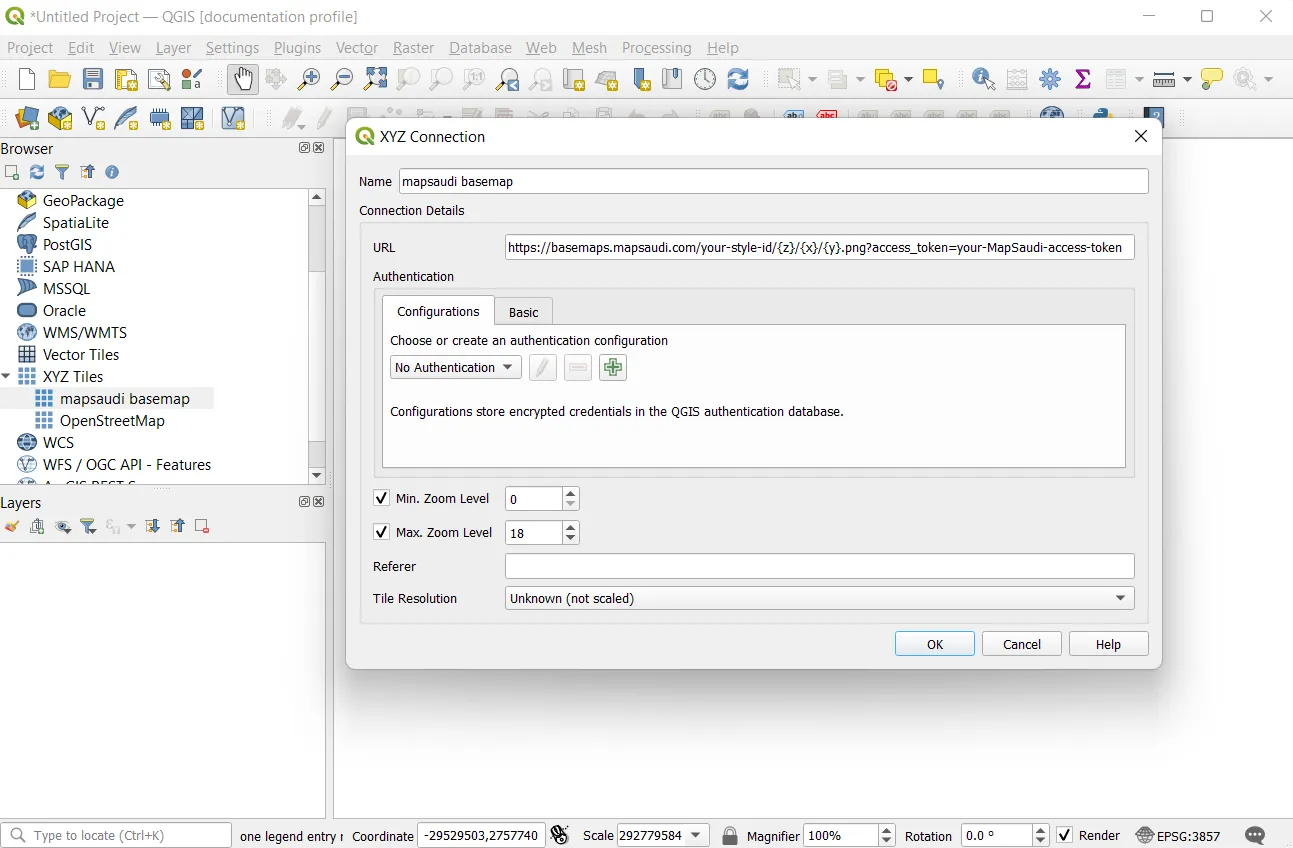
A new window opens with settings to configure:

  • Name: Name of the layer you will create. We will use tabaqat Sunny for our example, but you are free to choose what ever you want.
  • URL: Link for XYZ tile source.
  • Max. Zoom Level: You can set the max zoom level to 20.

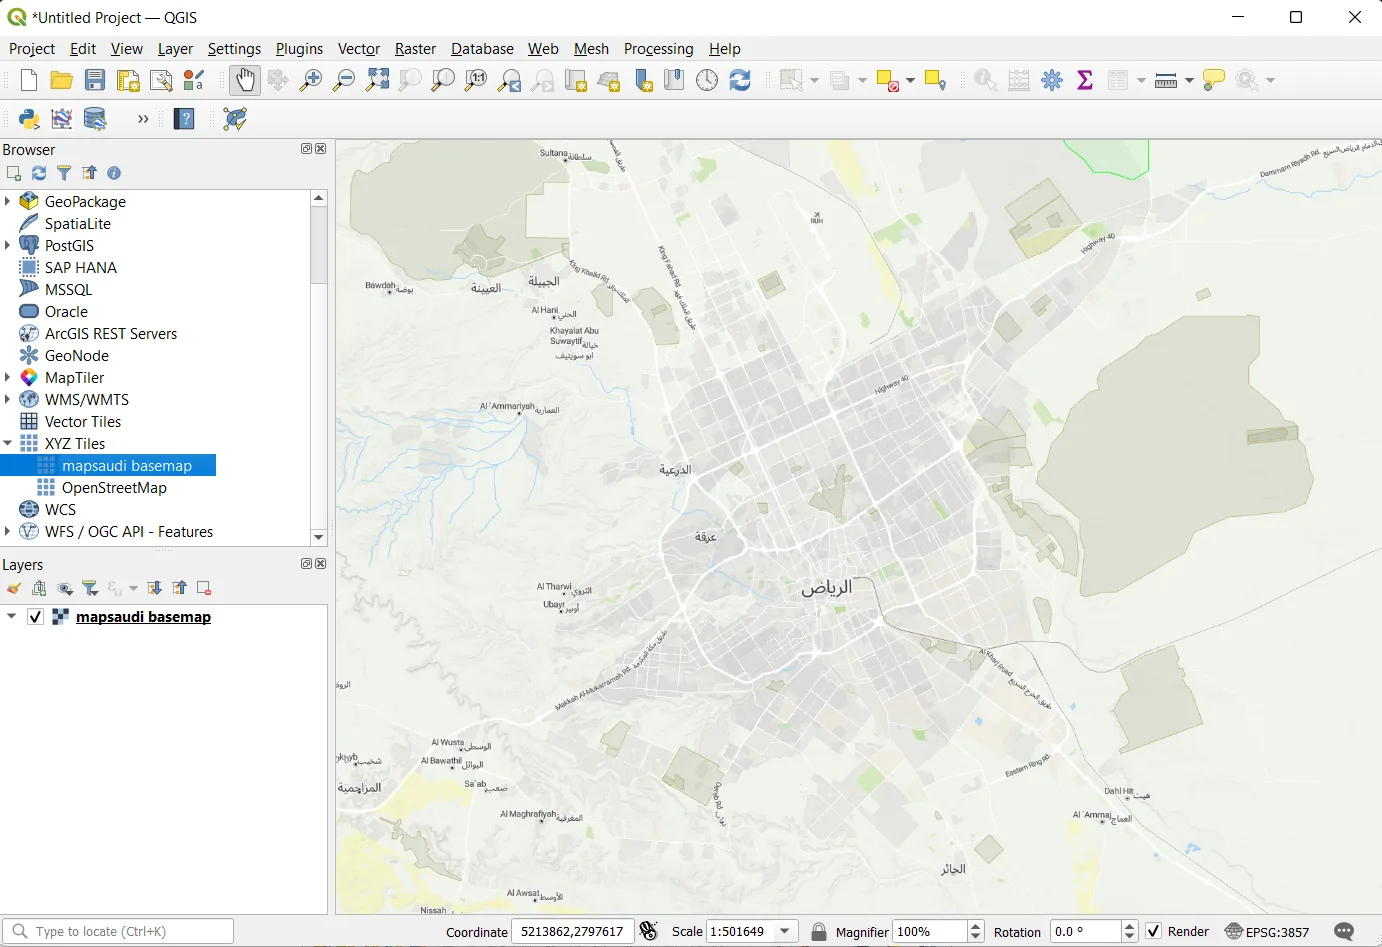
Your new connection will be added in XYZ section on Browser Panel.

xyz-url-connection

Step 3

Open your XYZ dropdown from your Browser Panel and find your new connection. Double-click on your layer and voilà.

view-basemap

Open your tabaqat connection dropdown from you Servers and find your new connection. Drag and drop your layer in the map windows and voilà.

arcpro-basemap03